Master the linkedin post image dimensions for perfect LinkedIn visuals
Learn the linkedin post image dimensions for every LinkedIn post type and craft eye-catching visuals that engage.
For a standard feed post, the ideal LinkedIn post image dimensions are 1200 x 627 pixels. This landscape format is your safest bet, ensuring your visual looks sharp across both desktop and mobile without any awkward cropping that could kill your engagement.
Your Quick Reference Guide to LinkedIn Image Dimensions
Getting your visuals right on LinkedIn isn’t just a nice-to-have; it’s fundamental to making a strong professional impression. The platform is a visual space, supporting everything from single feed posts and multi-slide carousels to article headers, each with its own set of optimal image sizes.
Nailing these dimensions means your content shows up clearly and effectively. It’s the difference between capturing attention and having your key message distorted or cut off. Think of this guide as your definitive cheat sheet. We’ll break down the exact specifications you need—from pixel dimensions and aspect ratios to file types and sizes—for every major image type on LinkedIn. Let’s get your visuals looking polished and professional.
LinkedIn Image Dimensions Cheat Sheet
Here’s a quick-reference table that summarises the key specs for all the common LinkedIn image types. It’s the perfect thing to bookmark or screenshot for when you’re creating your next post.
| Image Type | Recommended Dimensions (Pixels) | Aspect Ratio | Max File Size |
|---|---|---|---|
| Single-Image Post | 1200 x 627 (Landscape)<br>1080 x 1080 (Square)<br>1080 x 1350 (Vertical) | 1.91:1 (Landscape)<br>1:1 (Square)<br>4:5 (Vertical) | 5MB |
| Carousel Post | 1080 x 1080 (Square)<br>1080 x 1350 (Vertical) | 1:1 (Square)<br>4:5 (Vertical) | 10MB per image |
| Link Preview Image | 1200 x 627 | 1.91:1 | 5MB |
| Article Feature Image | 1920 x 1080 | 16:9 | 5MB |
Getting these numbers right from the start saves a lot of headaches later on. It ensures your images are optimised to perform well and look great in the feed, no matter how someone is viewing them.
Key Specifications at a Glance
For a quick overview, the most common standard for a LinkedIn post image includes a recommended width of 1200 pixels, a 1.91:1 aspect ratio, and a maximum file size of 5MB.
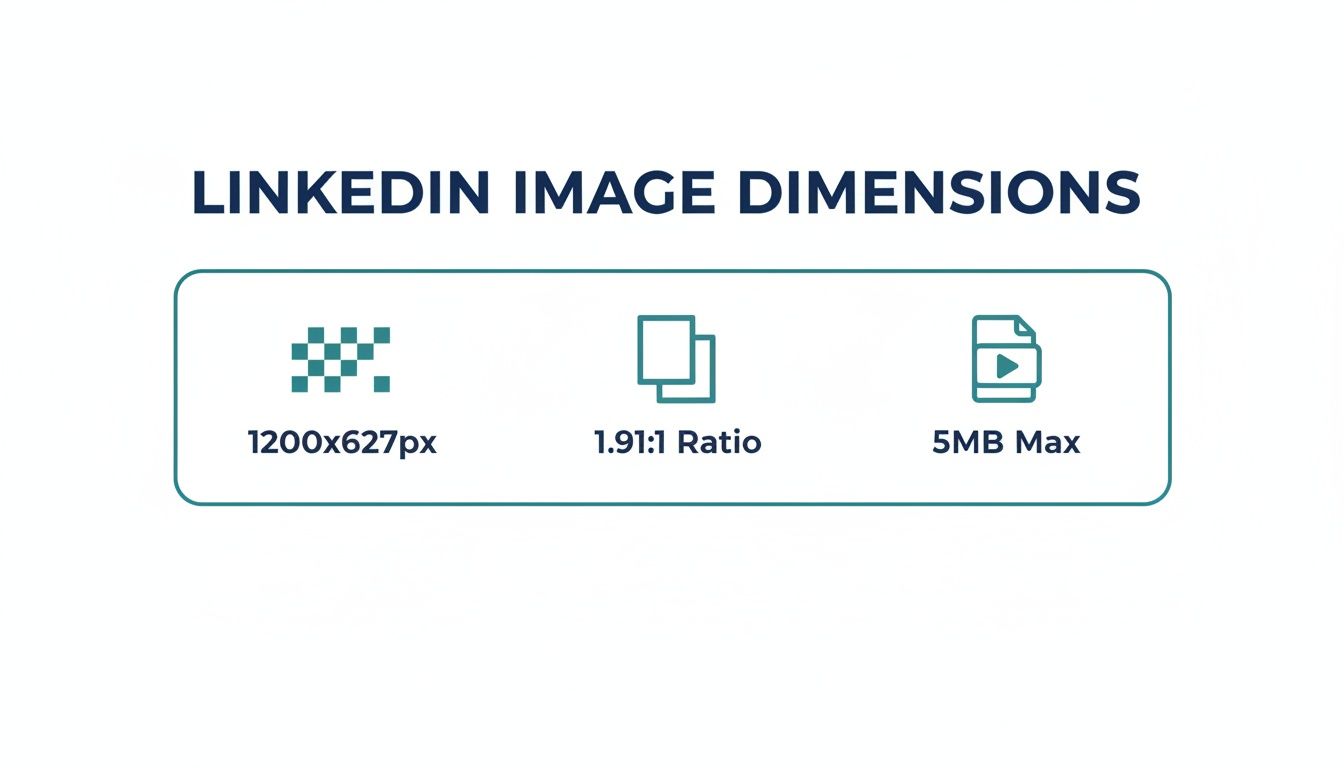
This infographic really drives home the three core specs for a standard shared link or single image post. These are pretty much the foundational numbers for most of the content you’ll be sharing.
In a market like Germany, where LinkedIn boasts 22 million users, sticking to the 1200 x 627 pixels standard is absolutely essential. It’s the best way to avoid those frustrating cropping issues that can drag down engagement—especially when optimised visuals often see double the interaction.
Quick Tip: While 1200 x 627 pixels is the go-to for link previews and landscape images, remember that LinkedIn also supports square (1:1) and vertical formats in the feed. Each one behaves a bit differently on mobile versus desktop, a topic we dive into much deeper in our detailed guide on https://postline.ai/blog/2/linkedin-post-image-size.
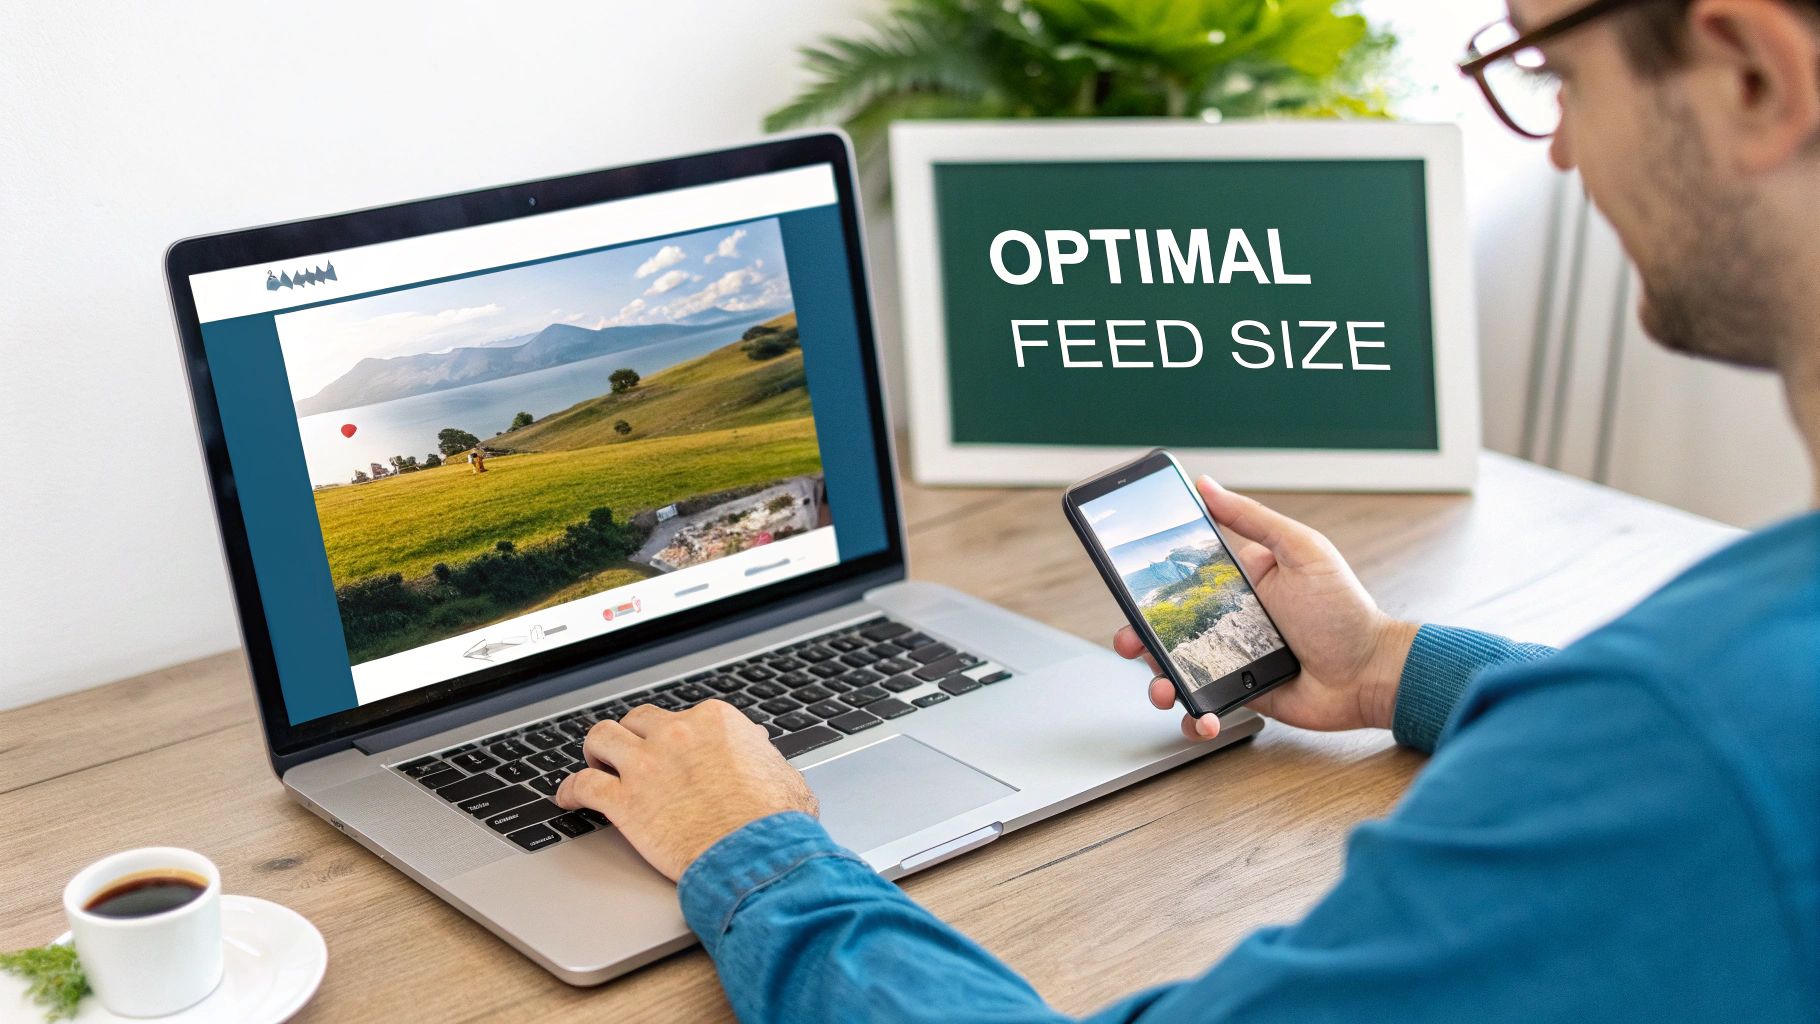
Mastering Single Image Posts on the LinkedIn Feed
The single image post is a classic for a reason, but nailing the dimensions is what separates a professional post from an amateur one. While LinkedIn gives you some flexibility, the gold standard is 1200 x 627 pixels. This works out to a 1.91:1 aspect ratio. Think of this as your safest bet.
Why this specific size? LinkedIn also uses these exact dimensions for its link preview images. Sticking to 1200 x 627 means your visuals look consistently sharp, whether you’re posting an image directly or it’s being pulled from a link you’ve shared. It’s the best way to avoid awkward cropping on both desktop and mobile, ensuring your entire message gets across exactly as you planned.
Square and Vertical Image Dimensions
While the standard landscape format is reliable, don’t sleep on square and vertical images. They’re fantastic for grabbing attention, especially on mobile, where they take up much more of the screen.
- Square Images: Go with 1080 x 1080 pixels (a perfect 1:1 aspect ratio). This format is clean, balanced, and a top performer on mobile feeds.
- Vertical Images: The sweet spot is 1080 x 1350 pixels (a 4:5 aspect ratio). Vertical images are the ultimate scroll-stoppers on mobile, maximising every pixel of screen real estate.
There’s a catch with vertical images, though. Be warned: LinkedIn will crop them on the desktop feed, usually squashing them down closer to a square. Always keep your most important elements—like text or logos—smack in the middle “safe zone” so they don’t get chopped off.
How LinkedIn Handles Different Formats
You have to understand how LinkedIn thinks. The desktop feed is wide, so landscape images get more love there. But the mobile feed is a different beast entirely. It’s built for vertical scrolling, which is where square and, particularly, 4:5 images really own the space.
A rookie mistake I see all the time is designing a gorgeous vertical image but completely forgetting about the desktop view. A crucial headline placed at the very top or bottom of a 1080 x 1350 image will almost certainly get cut off for anyone viewing it on a computer.
To get around this, just do a quick mental check. Picture a square overlaid in the centre of your vertical design; that’s roughly what people will see on desktop. This one simple habit helps you create visuals that look great everywhere, making sure your message always hits home with maximum impact.
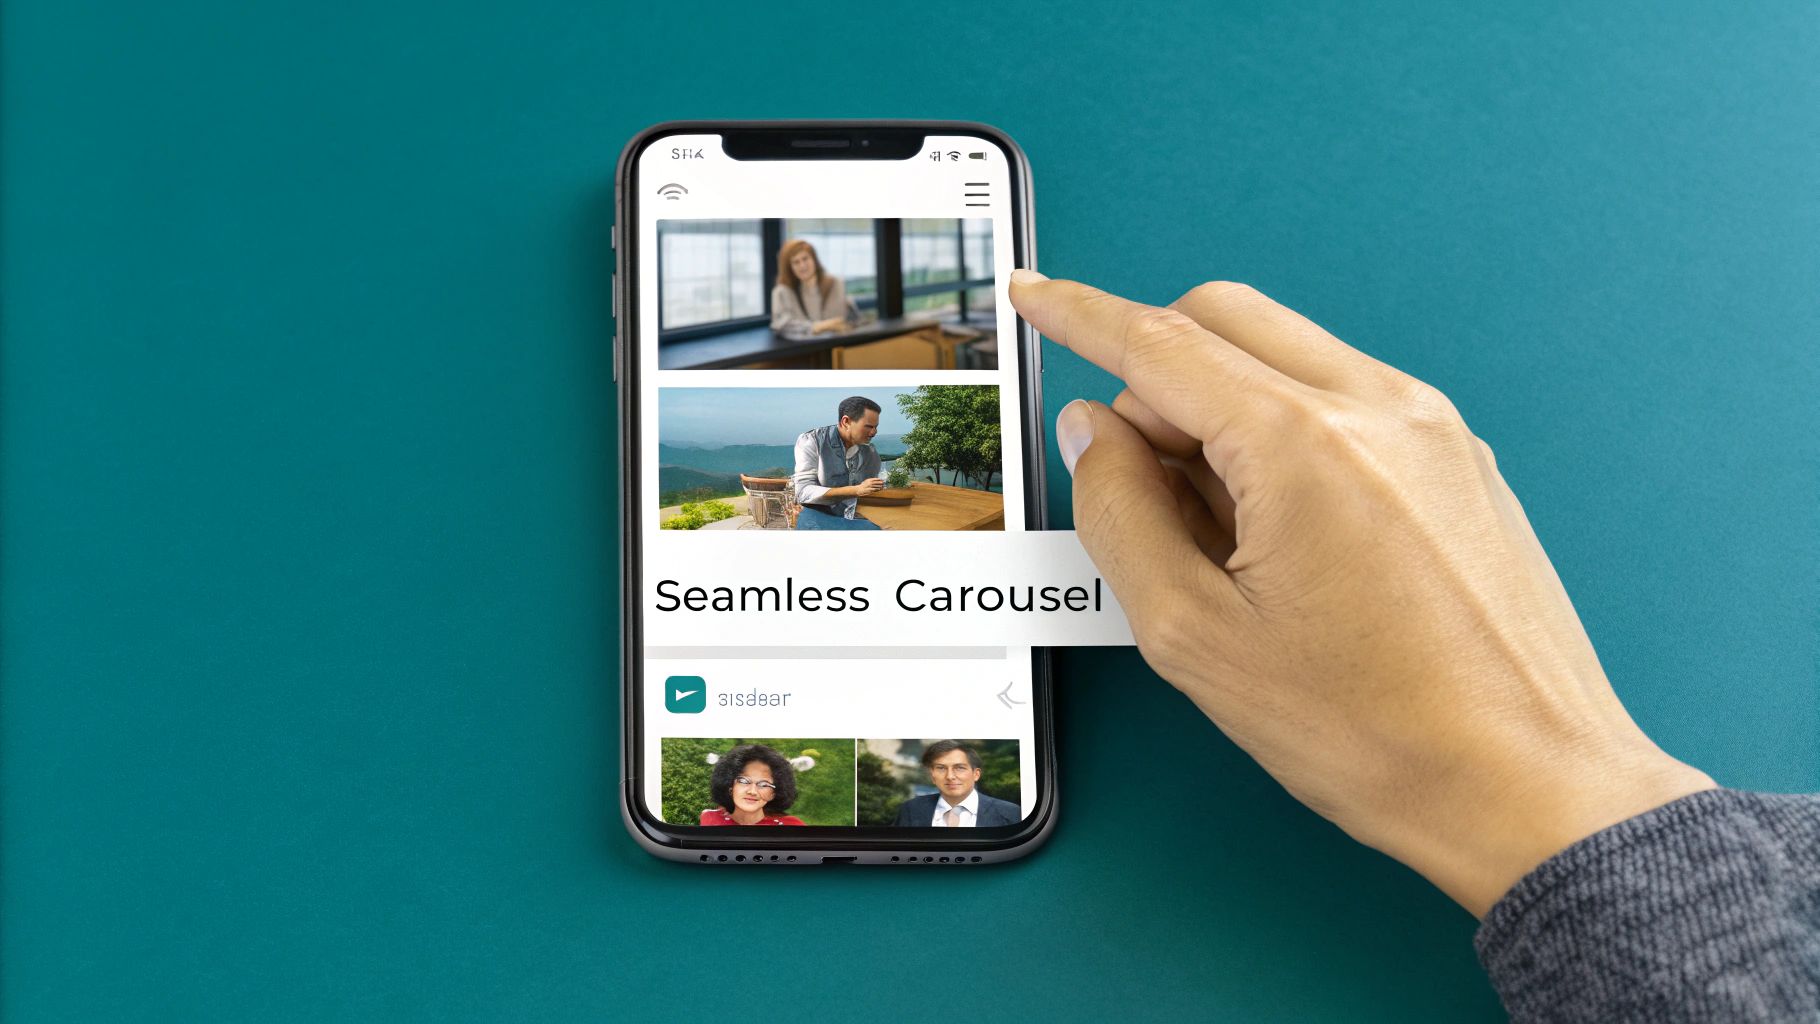
Designing High-Impact LinkedIn Carousel Posts
Carousel posts are a fantastic way to tell a story or unpack complex topics on LinkedIn. They let you share up to 10 images or videos in one swipeable post, which is perfect for step-by-step guides, showing off data, or just going deeper on a subject. But to really make them work, you have to get the LinkedIn post image dimensions right from the very beginning.
When it comes to carousels, you’ve got two main formats to choose from, and each has its own strategic advantage. The most common is the classic square format, which looks clean and consistent no matter what device someone is using. On the other hand, a vertical format can be a real scroll-stopper, grabbing maximum screen real estate on mobile phones.
Carousel Image Specifications
To make sure your slides look sharp and load properly, stick to these specs. Consistency is key here; keeping all your slides the same makes for a much smoother experience for your audience.
- Square (1:1 Aspect Ratio): The recommended dimensions are 1080 x 1080 pixels. This is your safest and most versatile bet.
- Vertical (4:5 Aspect Ratio): Go with 1080 x 1350 pixels. This format is killer on mobile but be aware that it might get cropped in desktop previews.
- File Type: You can use JPG, PNG, or non-animated GIF files for your slides.
- Max File Size: Each individual image or video slide can be up to 10MB.
Design Tips for Engaging Carousels
Making a carousel that people actually want to swipe through is about more than just the right size; it’s about smart design. Your first slide needs a killer hook—think a bold title or a question that piques curiosity and gets them to make that first swipe.
Keep a cohesive look and feel across all your slides. Use consistent branding, fonts, and colours to make your content look polished and reinforce who you are. We dive deeper into building a great narrative in our complete guide to crafting a great LinkedIn carousel post.
Pro Tip: Want to create a really immersive experience? Try a panoramic effect by splitting a single wide image across multiple slides. For a two-slide panoramic, you’d start with a 2160 x 1080 pixel image and then slice it right down the middle into two perfect 1080 x 1080 images. It’s a clever trick that makes people want to swipe to see the whole picture.
Getting Your Images Right for Links and Articles
The image that pops up next to a shared link or at the top of an article is your content’s first impression. It’s the visual handshake that grabs attention, and nailing it is absolutely critical for getting those clicks and looking professional.
When you drop a URL into a new post, LinkedIn’s magic pulls in a preview image automatically. To make sure it pulls the right one, you need to set up the Open Graph (OG) image correctly on your website’s backend. This gives you control, ensuring the visual you carefully chose is the one everyone sees.
Link Preview Image Dimensions
For link preview images, LinkedIn has a very specific recommendation. Sticking to these specs isn’t just a good idea—it’s essential to avoid awkward cropping that can make your content look sloppy and unprofessional.
- Recommended Dimensions: 1200 x 627 pixels
- Aspect Ratio: 1.91:1
- Max File Size: 5MB
Ever shared a link and the wrong image appeared, or it looked weirdly cropped? Don’t panic. LinkedIn gives us a fantastic tool called the Post Inspector. It’s a real lifesaver for debugging these issues. Just paste your URL into the inspector, and it shows you exactly how LinkedIn sees your link. You can then fix any problems before you hit publish. We go into more detail on how this works in our guide to the LinkedIn link preview card.
LinkedIn Article Cover Images
When you’re writing native LinkedIn Articles, the cover image serves a similar purpose but has its own set of dimensions. Think of it as a big, banner-style welcome mat that sets the entire tone for what your reader is about to dive into.
Important Note: Be smart about how this image looks in different spots. LinkedIn often crops the top and bottom of your 1920 x 1080 cover image to fit a landscape preview in the feed. The key is to keep your most important visuals and any text smack-bang in the centre, so they’re always visible.
Here are the ideal specs:
- Recommended Dimensions: 1920 x 1080 pixels
- Aspect Ratio: 16:9
By optimising these two image types, you’re making sure that every piece of content you share—whether it’s from your website or a native LinkedIn article—has that polished, professional look that encourages people to stop scrolling and start reading.
Understanding Aspect Ratios and LinkedIn’s Cropping Logic
Have you ever spent ages designing the perfect graphic, only to watch LinkedIn awkwardly chop off the edges in the feed? It’s a common frustration, and it all comes down to two things: aspect ratios and LinkedIn’s automatic cropping.
An aspect ratio is just a simple way of describing the relationship between an image’s width and its height. For instance, a 1:1 ratio is a perfect square, while a 1.91:1 ratio is a wide rectangle. LinkedIn has to make all these different shapes fit into its standardised feed, which inevitably leads to some cropping, especially when you compare how things look on desktop versus mobile. Getting a handle on this is the secret to creating reliable LinkedIn post image dimensions.
Common Ratios and How LinkedIn Treats Them
Different image shapes serve different purposes, but you need to know what to expect from each one when it comes to cropping. Before you can really master how your content will look, you need a solid grasp of the basics, including the difference between portrait and landscape orientations.
Here’s a quick rundown of what you’ll be working with:
- 1.91:1 (Landscape): This is your safest bet. It’s the standard for 1200 x 627 pixel images and displays perfectly on both desktop and mobile without any cropping. No surprises here.
- 1:1 (Square): At 1080 x 1080 pixels, square images are another reliable choice. They look great across all devices, which is why you see them everywhere. They just work.
- 4:5 (Vertical): This is the mobile powerhouse. A 1080 x 1350 pixel image really grabs attention and stops the scroll on a phone. The trade-off? It gets cropped on desktop, where LinkedIn will typically show just the central, square-ish portion.
Designing for the Safe Zone
The single most important habit to get into is designing with a “safe zone” in mind. Think of this as the core area of your image that will always be visible, no matter what LinkedIn decides to do with the rest of it.
Key Takeaway: When creating a vertical 4:5 image, picture a perfect 1:1 square right in the centre. Every crucial element—your headline, your logo, your call-to-action—has to live inside that central box. This guarantees it won’t get cut off.
By keeping your core message tucked safely in the middle, you create one image that works everywhere. It’s a simple trick, but it ensures unexpected cropping never sabotages the impact of your post.
Best Practices for Exporting High-Quality Images
Getting the correct LinkedIn post image dimensions is the first step, but how you export your files is what really makes or breaks the final quality. We’ve all seen it: a perfectly designed graphic that ends up looking blurry or pixelated on the feed. It just undermines your professional image.
But exporting doesn’t have to be a headache. Whether you’re a pro using Photoshop or working with more accessible tools like Canva, the basic rules are the same. You’re just trying to find that sweet spot between visual clarity and a file size that loads quickly on any screen.
File Type and Colour Profile
Picking the right file format is crucial for keeping your images looking sharp online. Each format does a specific job, and choosing the right one is your best defence against nasty compression issues.
- JPG (JPEG): This is your go-to for photographs and complex images with lots of colours and gradients. JPGs use compression to keep file sizes down, which is exactly what you want for fast loading times.
- PNG: Stick with this format for any graphics that include text, logos, or sharp lines. PNGs support transparency and don’t lose quality when you save them, which means your text and logos stay crisp and clear.
One more thing: always export your images using the sRGB colour profile. It’s the standard for web browsers, and it ensures your brand colours look consistent and accurate no matter what device or screen someone is using.
Quick Checklist for Exporting:
- Format: Use JPG for photos, PNG for graphics with text/logos.
- Colour Profile: Always select sRGB.
- Quality: Set JPG quality between 75-90% to balance clarity and file size.
- Dimensions: Export at the exact pixel dimensions (e.g., 1200 x 627).
If you want to dig deeper into making your visuals pop across different platforms, understanding the principles of optimizing export settings for social media can be incredibly helpful, as many of the same rules apply. And if you’re ever stuck for creative ideas, it’s worth exploring what the best AI LinkedIn photo generators can do; they can produce some stunning, high-quality images that are ready for a perfect export.
Frequently Asked Questions About LinkedIn Images
Even with the best intentions, figuring out the right image sizes for LinkedIn can throw up a few common hurdles. This section tackles the questions I hear most often from marketers and content creators.
Getting these little details right is what separates a professional-looking profile from an amateur one. It ensures your message lands exactly as you intended, every single time. We’ll go through everything from wonky sizing to fuzzy images.
What Happens If My Image Is the Wrong Size?
When you upload an image that doesn’t fit the recommended dimensions, LinkedIn’s automatic cropping kicks in to make it work. For a vertical image, this usually means the top and bottom get lopped off on desktop. If you upload a landscape image that’s too wide, the sides are likely to get trimmed.
This can be a real problem. Suddenly, key information like your headline text or company logo is completely gone, which completely undermines the post’s impact. To avoid any nasty surprises, always aim for the recommended 1200 x 627 pixels for landscape or 1080 x 1080 pixels for square images.
Why Do My LinkedIn Images Look Blurry?
Blurriness almost always comes down to one of two things: aggressive compression or uploading a low-resolution image in the first place. LinkedIn compresses every image you upload to keep loading times fast. If your original file is already a bit fuzzy or low-quality, this process just makes it look worse.
To get around this, you have to start with a high-resolution image and export it with the right settings. My go-to trick, especially for graphics with text and logos, is to use the PNG format. It’s fantastic for maintaining sharpness.
Key Insight: Always export your images at the exact dimensions needed (e.g., 1200 pixels wide). Don’t upload a small image and expect LinkedIn to scale it up without losing quality—it won’t. This one step can solve the vast majority of blurriness issues.
Ready to create perfectly crafted LinkedIn posts without the guesswork? Postline.ai uses AI to help you write, schedule, and format engaging content that gets noticed. Stop worrying about dimensions and start growing your influence. Try Postline.ai for free and see the difference.

Run every client pipeline in one place
Give each LinkedIn profile its own voice, calendar, approval flow, and analytics. Start in minutes.
Start free trial